DIY compost pit at their summer cottage
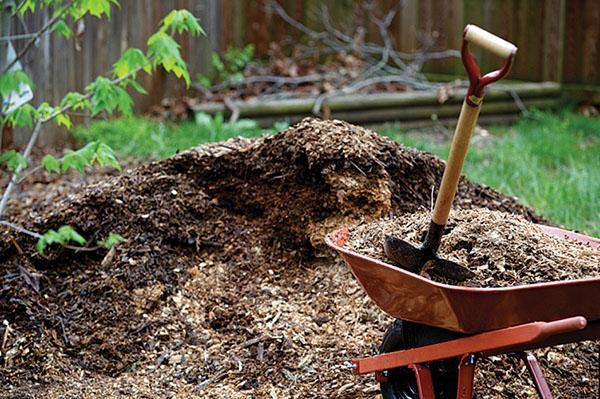
 Every experienced gardener knows that in order to improve the crop, you need to fertilize the soil with compost. It will be much easier to save money on the purchase of fertilizer if there is a do-it-yourself compost pit on the site, which is not difficult to do. In a private home, a sufficient amount of organic waste is accumulated, suitable for the formation of compost. Thanks to fertilization, sandy soil will retain moisture better, and clayey - it will become much crumbly. Below are the main recommendations for the construction of a pit, as well as what needs to be put into the structure for the formation of high-quality fertilizers.
How to choose a seat

The structure should be in the shade, and not under the scorching rays of the sun. In the second case, decay will stop, and the humus will simply begin to dry out. It is important to equip a compost pit near the fence in the shade or near the house. The structure should be located away from the neighboring house, so that sometimes the aromas that appear do not reach them.
Simple pit
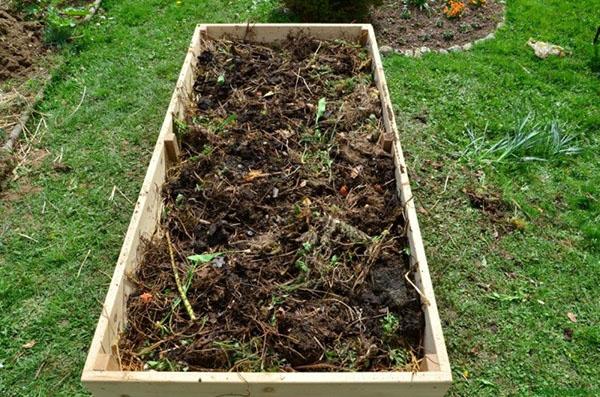
 In the process of arranging the most common compost pit, you will need to dig a depression in the ground 60-100 cm wide and 50 cm deep, 200 cm long.At the bottom of the ditch, spread leaves, weeds and other plant residues from the garden. Then the remnants of food waste are poured into the recess and again covered with various weeds. A similar procedure is repeated with the formation of each layer, since with this technology flies and stench will not appear. The compost pit will look much neater if you enclose the recess with a wooden rim around the perimeter.
It will be much easier to count on quality fertilizer if you periodically water organic residues. Do not forget to also mix the compost with a pitchfork, covering it with plastic on top.
Closed do-it-yourself compost pit
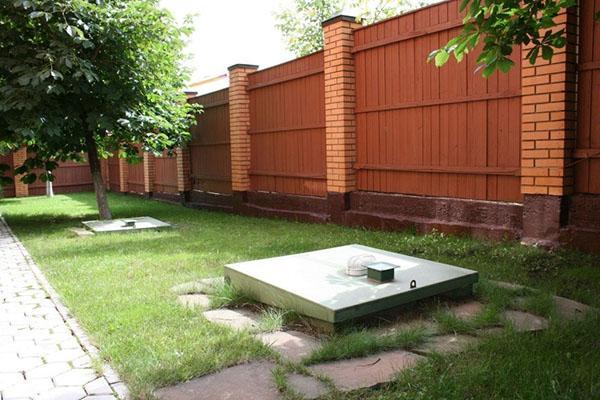
 Before choosing one of the types of structures, you need to understand in more detail what compost pits are. In addition to an open ditch, you can also choose a closed structure. Making the structure will take more time, but it is considered more practical. The pit consists of two compartments, where one compartment is intended for new raw materials, and the other for old compost.
It is very important, before making a closed-type compost pit on the site, to think over the design scheme and not forget about the cover. The process of preparing a structure involves the following stages:
- Level the area where the structure will be located by removing the top layer of the earth.
- Prepare the ditches in the form of a rectangle. Width - 1.5-2 m, depth - 70 cm, length - up to 3 m.
- Make the walls when using concrete, they should be 10 cm thick. When arranging a compost pit with your own hands, make sure that the walls are 30 cm higher than the level of the pit;
- Put on top of the structure netting or a metal cover. It will also be possible to complement the structure with a wooden cover. In the latter case, drill some holes for ventilation.
Slate Compost Pit
 This design option is considered very convenient to use.Slate is a fairly durable material in which it is convenient to store humus. When making a box from slate, first take all measurements and think over where it will be located, and also think over the number of sections.
Before making a slate compost pit, you need to dig a small rectangular depression in the ground. After that, make supports at the corners of the ditch, using boards or metal pipes. Lay out slate sheets along the contours of the ditch to form a symmetrical rectangle. If necessary, use slate to divide the structure into two or three compartments.
Regardless of the option for making a compost pit with your own hands, you need to remember a few rules for the rapid formation of fertilizer. Remember to moisten organic debris with water and add composting agents with live bacteria.
Wooden compost bin
 It will be easier to prepare a comfortable compost pit with your own hands if you pay attention to this design. A wooden box implies the presence of three sections: the first is for the receipt of waste, the second is for turning over the humus, the third is for storing the ripe fertilizer. During the manufacture of the fixture, wooden planks are required.
The process of making a box involves the following steps:
- Prepare 8 pieces of wood. Apply engine oil or tar to the bottom to prevent rotting wood.
- Bury the posts in the ground. If desired, attach 4 bars to the fence so as not to dig an additional hole under them and not to make the back of the box.
- Make partitions in the drawer by attaching boards to the pegs. Small gaps should form between the boards for free air access.
- When decorating the first two compartments, sheathe the pegs with boards to the middle, since then it will be more convenient to attach the doors to the structure from above.
- In the process of decorating the third compartment, nail one small board, this section will be the largest with one massive door.
- Install crossbars to form baffles, back and end.
- Attach the doors, they will act as a cover. Install two small and one large door on the front of the drawer.
The wooden box will not decompose and become part of the compost if the boards are pretreated. Choose a non-toxic treatment in the store that will protect the wood from moisture and insects.
Regardless of how long the compost pit should be and how long humus will form, do not forget to paint the wooden boards.
Paint the surface in two coats. Choose the color of your preference, as long as it fits perfectly into the landscape. At the final stage, install the latches and handles.
If you are at a loss as to whether you need a bottom at the compost bin, but want to install the structure for several years, then consider a concrete bottom or make it out of plastic. Lay concrete on top with drainage so that the process of humus formation is as efficient as possible.
Tire compost pit
 This design option is considered budgetary and at the same time easy to manufacture. If you have old tires in your house, then feel free to move on to making the structure. When preparing the structure, use 4-6 tires. Before making a compost pit with your own hands, cut out the inner diameter of the tires to increase the size of the future structure.
Place the tires on top of each other and fill in the already prepared waste in the middle of the structure, then place the reinforcement in the center (2-3 units). With its help, sometimes move the layers so that oxygen flows to the lower layers of humus. By the onset of autumn, the entire structure will be filled. Leave the compost in a tire cylinder until spring. In the springtime, the contents will settle, and you can remove the tires by extracting the finished humus. Then repeat the procedure for building a compost pit.
DIY compost: manufacturing options
 It will be much easier to count on high-quality humus if you not only prepare the correct design, but also learn how to sort the waste. High-quality fertilizer will be obtained from organic waste such as:
- rotten fruits and vegetables;
- needles, straw, leaves, branches and roots of trees and plants;
- coffee grounds and tea leaves;
- manure;
- small pieces of paper and newspaper.
It is important to understand not only what can be thrown into the compost pit, but also what waste is not suitable for the formation of humus. This category includes the following products:
- tops from tomatoes and potatoes;
- bones;
- tops treated with chemicals;
- excrement of domestic animals, dangerous insects (beetles);
- synthetic waste;
- coal ash.
Thanks to the arrangement of the compost pit, you can count on free and completely natural fertilization. Choose the type of construction, taking into account your budget and capabilities.