Homemade microgreens are the perfect product for your diet
 For a long time, microgreens at home growing conditions did not arouse much interest from housewives and gardeners. Rather, it was considered a fashionable feature of expensive restaurants. And today we are witnessing a real seedling boom. And that's good, because it's high time. Microgreens gained immense popularity among the American public back in the 90s, and in the East this happened much earlier.
Extensive and concrete scientific evidence about the absolute benefits of early seedlings is still insufficient. They want what is already known speaks of their undoubtedly positive effect on the body.
Why grow microgreen

They are essential for all types of metabolism, increasing the body's defenses, good digestion, getting rid of fat accumulations and slowing down the aging process. These substances are found in maximum quantities in young green shoots.
Professor Zekeli argued that 25% of a person's daily food intake should be from young germinated plants. They are able to produce antioxidants on their own and prevent free radical damage to the body. The professor called green sprouts "food that revives life."
What seeds are cultivated to obtain microgreens
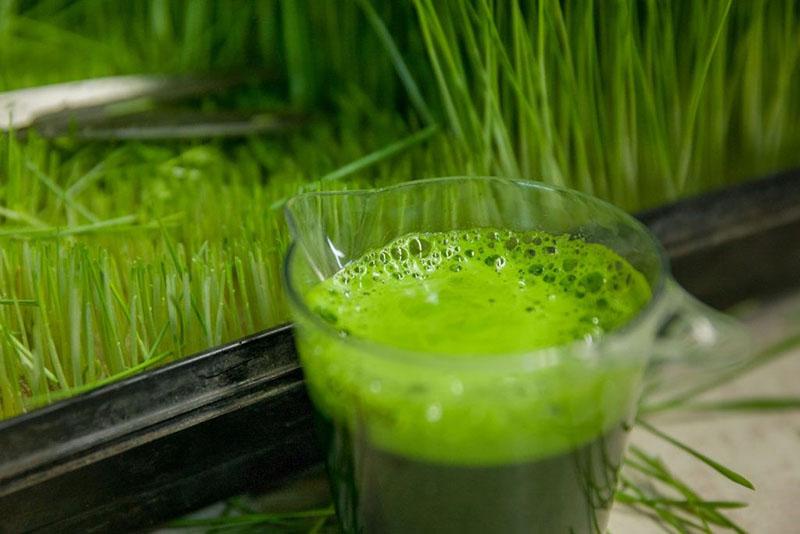
 To obtain microgreens, seeds of various types of plants are planted: from salad greens (or vegetable) - purslane, watercress, mustard, spinach, broccoli, arugula, turnips, beets, to legumes (soybeans, peas, beans, lentils) and grains (wheat, oats, buckwheat). Each of these plants has its own unique composition of trace elements.
The very first shoots are eaten when the plant has not yet acquired the first true leaves or has no more than two of them. This will happen about 7 days after planting the material. It is such greens that will be especially valuable in terms of nutrient content.
Really useful and safe is the inclusion in the diet of only green mini-plants, the very same grain or bean, from which the sprout has grown, is not consumed.
Mini-plants are a natural product obtained naturally without any effect that changes its properties. Microgreens are not processed at home, they are not damaged or altered by mechanical or heat treatment. To grow into a sprout, dry grain only needs suitable conditions for it: humidity, natural aeration and temperature. In fact, this is his distillation.
Growing methods
 Today, 2 methods of obtaining microgreen are used: growing microgreens at home without land (hydroponics) and the classic version, when the seeds are sown in the soil. In any case, seeds are purchased that have not been treated with chemicals.
Substrates are:
- Horse neutralized peat. It is a decomposition product of dead tree parts and moss. Microgreens grown on it have a bright, rich color and taste, but in this case, they carefully monitor watering, avoiding excessive waterlogging of the soil, otherwise the plant will rot.
- Do-it-yourself soil, consisting of peat, vermicompost, humus and fertile soil from the garden.It is on such a soil that microgreens will show their best taste.
- With prolonged use of a hydroponic substrate, its chemical and physical properties deteriorate. This negatively affects the cultivated plants. Therefore, the nutrient base must be changed periodically.
- Nutrient base that replaces soil - vermiculite, coconut fiber, mineral wool, fiber rugs from hay, jute, flax.
With prolonged use of a hydroponic substrate, its chemical and physical properties deteriorate. This negatively affects the cultivated plants. Therefore, the nutrient base must be changed periodically.
Sprouts are practically not exposed to mold when grown in containers with drainage holes to drain excess water. At home, use pots, trays, other suitable containers or store germinators for microgreens. They are convenient and easy to use.
This is a regular container with a basket at the bottom of which seeds are placed. Water is poured into it to the level of this basket. The container is closed and placed in a warm place until the seeds hatch. Then the lid is removed and the plant is placed on the windowsill. The water is changed once a day. Germinators are equipped with a special mini-pump for enriching plants with oxygen
How microgreens are grown at home
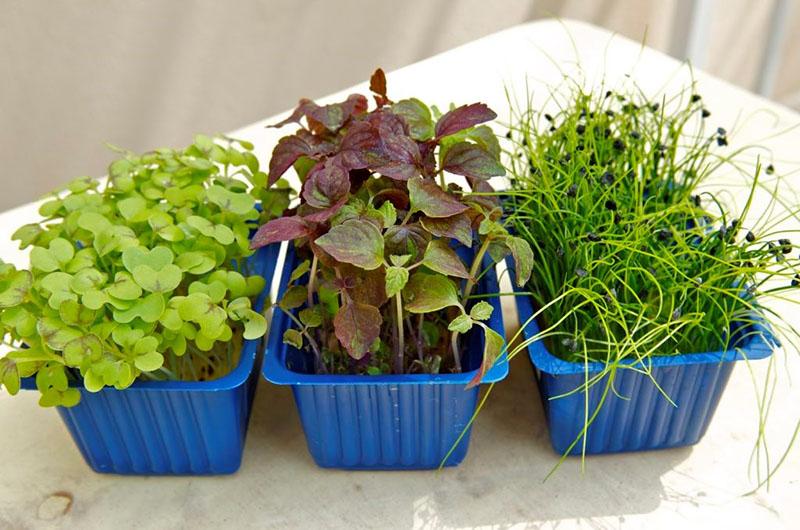
It should be noted that the concentration of essential substances in cultivated plant varieties varies greatly. For example, young red cabbage seedlings are high in vitamin C, while cilantro and lentil sprouts are rich in vitamin E. Sometimes the differences in the composition of substances are very significant (15-20 times). Therefore, few people remain monogamous of one type of minigreens. As a rule, amateurs diligently diversify their menu, planting several varieties at once (purchase mixes).
The technology for growing microgreens is quite simple. Here, the plant does not need top dressing, since the seed or grain has large internal reserves and is quite capable of stimulating the growth of a seedling 5-8 cm high.
To achieve good results, do the following consistently:
- Place soil or a jute substrate in the container.

- Moisten the ground or fiber mat with warm water.

- Seeds soaked in advance for 1-2 days are distributed evenly over the entire area. Small ones sow dry.

- The entire surface is once again lightly sprayed with water.
- Seeds are pressed from above so that their contact with the substrate is sufficiently dense. Another container with a microgreen will become such a load. Such a rack usually consists of 3-6 identical containers, stacked on top of each other.

- The rack stack is poured daily through the top container to allow moisture to flow down and moisten all rugs.
After seed germination, the containers are placed in separate trays, watered lightly with water and placed in a bright place.
When the first true leaves appear in the microgreening container, the crop is harvested by cutting off the tender shoots with scissors.
Leadership among microgreens deservedly belongs to red cabbage, amaranth (schiritsa), daikon, broccoli, cilantro, watercress. Their sprouts are distinguished by a high content of carotenoids (lutein, zeaxanthin), vitamins E and C. Therefore, it is advisable to have them on the table all year round, especially in the winter-spring period.
 Microgreens at home look very decorative, grows healthy and tasty. This is a product capable of not only giving, but also returning health, beauty and youth to people.
I just love microgreens, which is also a very useful thing. I usually buy in the supermarket, but it's interesting to try to grow at home