How to make a multi-body hive with your own hands, taking into account the design features
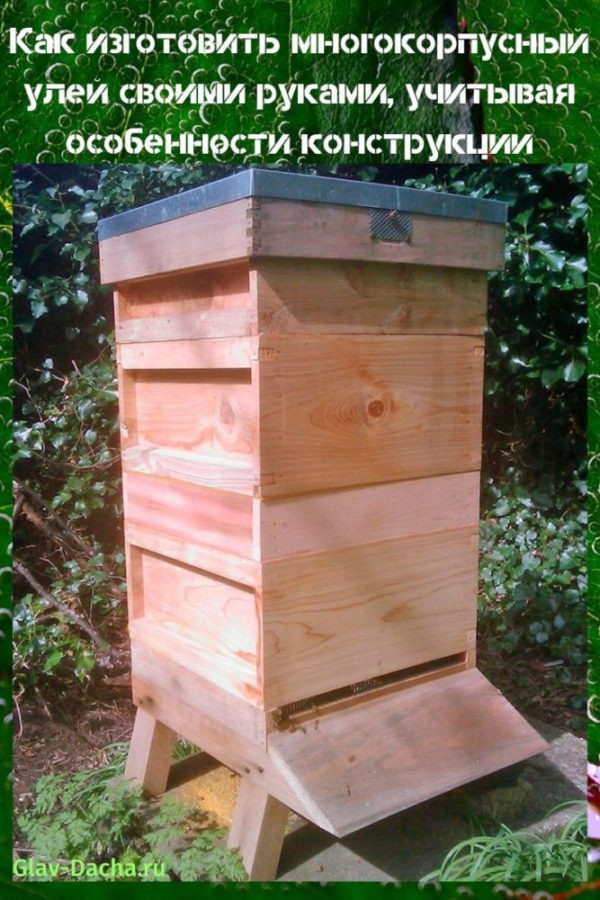
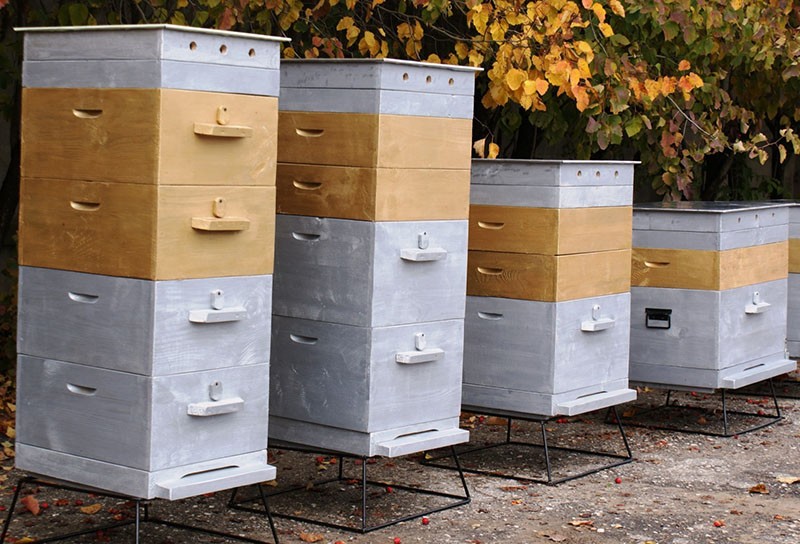
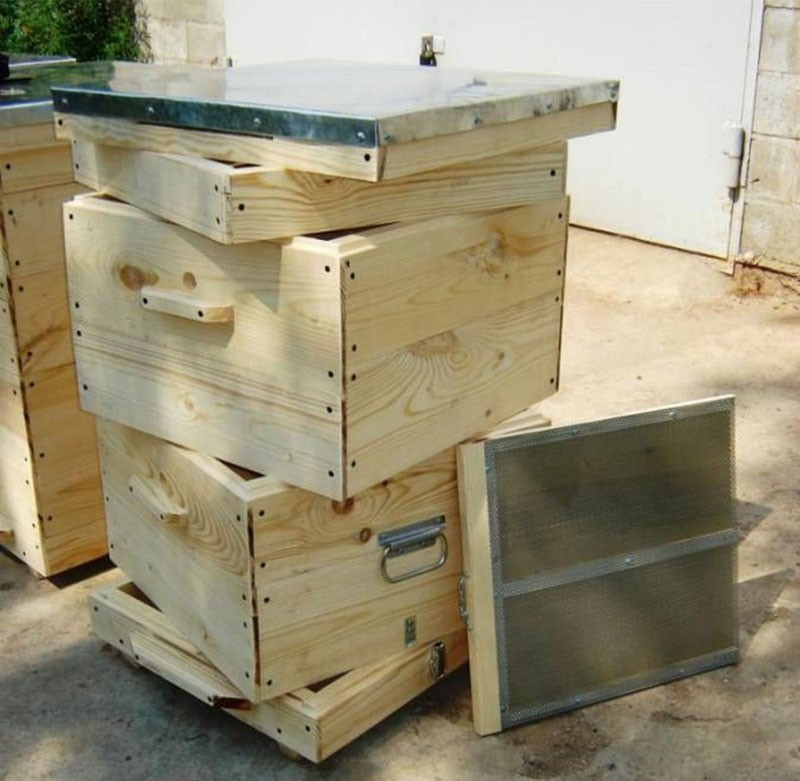
 Multi-hive hives are a vertical type structure consisting of several hives located on top of each other. The finished product can be bought in supermarkets specializing in beekeeping goods, or you can make your own multi-hive hive. Due to the ease and simplicity of use, evidence of this form has found wide application both in agricultural beekeeping farms and in large private apiaries.
Pros of multi-hive hives

The main advantages of multi-body evidence:
- A multi-hull product accommodates twice as many bees as a double-hull one, which allows to increase the amount of brood by 35-40%.
- In the upper part of the product, the optimum temperature is maintained for brood.
- The queen bee gains access to a huge number of egg-laying cells in different parts of the hive.
- High speed of building up the frames.
- The lightness of the body provides convenience for the beekeeper.
- Possibility of using small honey extractors, with which it is almost impossible to deform the honeycomb.
 The design of the multi-body hive provides ease and convenience of transportation. The enclosures weigh no more than 15-18 kg, due to which they can be removed independently at the same time as the frames. This greatly simplifies the maintenance technology, facilitates the work of pumping honey.
DIY multi-body hive: the necessary materials
 Making multi-body hives with your own hands will not cause difficulties even for a person who is remotely familiar with the carpentry craft, because their design is simple and concise.
Main products:
- cases - 4 or more;
- bottom;
- ceiling;
- frames - 10 pcs;
- roof;
- roof liner;
- dividing grid;
- coasters.
Before making a multihull hive, prepare good quality, well-dried planks - ideally larch, cedar or pine, aged for at least 12 months. The thickness of the boards should be 35 mm.
 When making multi-hives no metal parts are used, as this material can adversely affect the condition and developmenttii bee family. Also prepare all the necessary tools - a sander, drill, chisel and woodworking machine.
The optimal dimensions for a multi-body hive are 230 * 435 mm. These frames correspond as much as possible to the natural habitat of bees, imitating the hollow of a tree.
Roof
 There are various layouts of a multi-hive hive that use a standard type of roof or with an additional ventilation system. The latter has a built-in special mesh that guarantees air circulation in the hive.
Roof fabrication:
- attach a 8 * 22 mm rail to the side walls;
- nail the tin along the top edge;
- attach 2 cm wide strips to the backplate for further support.
The roof is the only part of the hive structure where metal is allowed. It is made of wooden boards with a thickness of at least 23-26 mm, wrapped on top with sheet metal.
The roof must be installed as tightly as possible so that there are no gaps between it and the walls. When making a standard roof, be sure to make 5-6 ventilation holes.
Housing
 The hive body is made from solid beams. When trimming the board, be sure to make allowances of 3-4 mm on each side.
Part parameters:
- front and rear walls - 245 mm wide and 465 mm long;
- side piece - 245 mm wide and 540 mm long.
When filing a thorn, be very careful and remember about the straightness, otherwise, when assembling the structure, there may be a problem of skewing of the product and chipping of the cheeks on the sides.
Saw the thorn from the outer side, and from the inner side in the place of the eyelet. After that, carefully process the distance between the thorns with a chisel - this will prevent the tree from splitting.
Place the wall (side) on the workbench face down, on top place a wall with spikes to mark the eyelets in a vertical position. Make sure that the edges on the front side are flush. Outline all the thorns with a pencil, and transfer the marks to a wooden board that is in a horizontal position.
 For convenience, mark all corners with numbers - this will help not to confuse them during assembly. When all the lugs are marked, chisel them from all sides.
On the back and front of the case, make a fold for further installation of the frame. From the inner side of the wall along the border at the top, remove the folds 18 mm deep and 12 mm wide.
Position the frame in such a way that its top side is 8 mm below the body edge - this allows you to easily install additional enclosures at the top. From the inside, carefully sand the wall and grind it with a grinder.
 For cabinet assembly, lay a wall with lugs on a workbench, and a wall with spikes on top of it. Gently hammer the cleats into the eyes with a hammer. For ease of transportation on the walls of the multi-body evidence, make special handles in the form of a depression. They are placed 75 mm below the top edge.
Bottom

For a homemade hive, a removable and double-sided bottom of three beams is made. Dimensions of the bottom of the multi-body hive:
- side beams - 35 * 65 * 570 mm;
- rear beam - 35 * 65 * 445 mm.
Make a groove in the beams from the inner side of the bottom frame. Step 25 mm from the top edge and make a groove 40 mm wide and about 12 mm deep. The bottom of the evidence will be inserted directly into it.
Fasten the product frame to the bottom using the thorn-groove method. It will consist of a three-sided frame, the fourth side is a 25 mm gap. It is essential for optimal year-round air exchange within the structure.
Ceiling
 The ceiling consists of two parts - a rim and a shield. Its parameters are 520 * 445 mm.
The upper part is made in several steps:
- make a groove on the slats 1 * 1 cm in size;
- connect the frame of 3 strips, insert the ceiling planks into it one by one and secure it with a closing strip;
- make a 10 * 4 cm hole in the center of the ceiling - it is necessary for ventilation in the winter season and fixing the feeder;
- fasten the ceiling to the multi-hive.
If you plan to use a multi-body hive for 3 or more bee colonies, be sure to cover the hole in the ceiling with a mesh with fine meshes.
Dividing grid
A wire or plastic grill is used in multi-hive hives to enclose the queen bee. Its dimensions are selected according to the internal dimensions of the structure itself. The mesh is fixed on top of the frames. Its cells should be of such a size that the bees with the collected nectar can easily pass through it.
Frame
 There are several important factors to consider when installing frames in a multi-body hive. If their thickness is 25 mm, the distance between the centers of the frames should be at least 37-39 mm.
Make sure that the gap from the hive wall to the nearest frame is at least 7-8 mm. The distance from the bottom to the lower frame strip is 16-20 mm, between adjacent tiers of frames 10 mm.
Entry stop and entrance
The notch limiter is necessary in order to close the notch in the winter season or during transportation of a multi-hive hive. The ease and convenience of opening and closing the limiter is provided by guides made of wood or metal.
Bridging is a trapezoid-shaped plank located at a slight slope directly behind the taphole and fixed with a wooden dowel or steel rods.
The arrival is necessary so that the bees can easily leave the hive and come back. The optimal dimensions of the arrival board are 20 * 140 * 445 mm.
Hive stand
The stand for the multi-body hive is made after the completion of other work. It has the shape of a box and is made of wood with a thickness of 30-35 mm. The dimensions of the stand are selected in accordance with the dimensions of the multi-body hive and its bottom.
Cons of multi-hives
 The main difficulty in making a multi-body hive on your own is the need for a “jewelry” fit of all parts to each other, because the slightest detail will lead to a distortion of the body.
The disadvantage of a multi-hive hive is the deformation of the body under the influence of weather conditions. That is why you need to pay maximum attention to the choice of materials, using only high-quality wood.
In some cases, additional reinforcement is required for the safe transport of the hive. Caring for bee colonies in such hives can cause difficulties for a novice beekeeper - in such cases, an assistant is needed.
But more often than not, such disadvantages are not taken into account due to the many advantages of multi-hive hives. They minimize the complexity and laboriousness of care, due to which such a design is considered the best option for large beekeeping enterprises and large apiaries.
A self-made multi-body hive with your own hands will require the accuracy of all stages. Even though its design is simple, it still takes a lot of effort. The result will be a comfortable and reliable hive that, with its compact size and ease of maintenance, will increase the productivity of beekeeping.