Open-roof greenhouse: types and designs, self-installation
 Many different structures have been invented for growing vegetables - from a simple greenhouse shelter to heated stationary structures. But modern technologies do not stand still and now polycarbonate is very popular, including a greenhouse with a drop-down roof made of it. It allows you to maintain optimal temperature and humidity conditions for plants and is relatively easy to install.
A greenhouse with a drop-down roof: types and design

In addition, in the fall, you can dry root crops in it before storing them.
There are several main types of drop-roof greenhouses:
- Convertible with reclining elements.
- Butterfly with a rising roof and walls.
- Matryoshka doll with removable roof.
- Greenhouse Nursery with opening top.
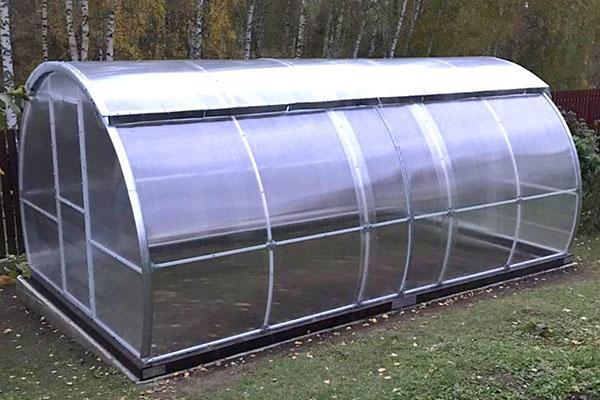
The latest model is available in several versions - Standard Plus (manual winch for opening), Premium (push-button remote control) and Lux (autonomous control from the phone). All structures are arched, with a fully retractable roof. The width is 3 m, the length can be different - 4, 6 and 8 m. The cost, respectively, depends on the option, size and assembly of the structure. But you can install a nursery greenhouse with an opening top with your own hands.
Site selection and foundation arrangement
 The structure should not be located near large objects from the southeast, south and southwest sides, so that there is no shading. From the northeast, north and northwest, it is even desirable to have shrubs, trees or buildings in order to protect the greenhouse with a drop-down roof from the wind.
The site is selected in such a way that the long side faces south.
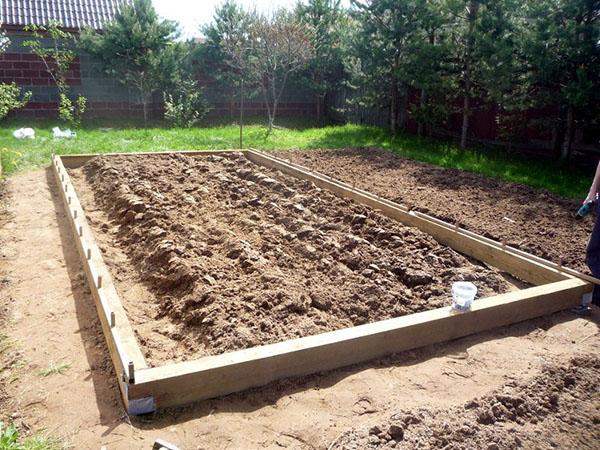
When the place has been decided, it should be freed from stones, branches, vegetation and leveled. Since the future design is rather lightweight, then foundation it is made appropriate - from brick or timber, which must be treated with an antiseptic or tar, bitumen, etc.
 Then put together a greenhouse-sized box made of polycarbonate, opening upwards, using reinforced corners and self-tapping screws.
 After that, you should check the horizontal level with a building level.
From above, it is better to cover the finished foundation with roofing material or tar paper to strengthen the waterproofing.
How to assemble the ends: step by step instructions

The gables of the greenhouse opening from above are assembled in the following sequence:
- First of all, you should unpack the parts.

- Mount the spacers on the doorway on both sides (the lower ones are shorter than the upper ones).

- Install the upper arch on the door.

- Then it and the spacers should be fixed with M 6 x 30 bolts and nuts with washers.


- Install side arches with spacers on both sides and connect with bolts and nuts. The upper part is a T-connector, counting on the future connection of arched screeds.

- Check the reliability of all fittings and parts.

- When the gable frame is assembled, you need to take a sheet of polycarbonate, remove the protective film from it and cut off half enough for sheathing the end.

- Use sealing tape on unprotected sheet edges.

- Attach the polycarbonate to the gable so that the stabilizing cover is outward.

- Next, fix it with 5.5 x 19 mm roofing screws, without overtightening and without damaging the material

- Cut off the excess with a construction knife, attaching the arch of the roof.

When one end is assembled, they begin assembling the second copy.
How to assemble a roof
 To assemble a movable roof, horizontal ties should be attached to the front arches in the center and on the sides. To them - an intermediate roof arch. Then you need to gradually build up the frame with ties and arches.
 Align and fix the polycarbonate on the finished element with self-tapping screws. On the pediment arches, make hooks to fix the roof.
 From the ends on the arcs, 2 wheels should be fixed at a distance of 12-14 cm from the edges and also made on the third (for a greenhouse 6 m long) frame arches, if you count from both ends.
 It remains to install the platbands. And the roof is ready.
How to assemble walls and mount a roof
 The frame of the walls is made by connecting arches and horizontal ties with gables.
 The polycarbonate is fastened so that the top remains open.
 The rails are installed on the side where the roof will move and on the upper arches.
 On the opposite side, a guide for the winch cable is attached.
 After that, the roof is placed on the rails with wheels, the winch is fixed, the cable is pulled along the guide and attached to the roof.
 It remains only to install stops on the side where the winch is located so that the roof cannot move behind the rails. In addition, they will cover the gap with the structure wall.
 Install the clamps and test the movement of the roof.
If you consistently and carefully follow all the stages, then you can easily assemble the greenhouse yourself.
Advantages of moving roof greenhouses
This design has a lot of advantages:
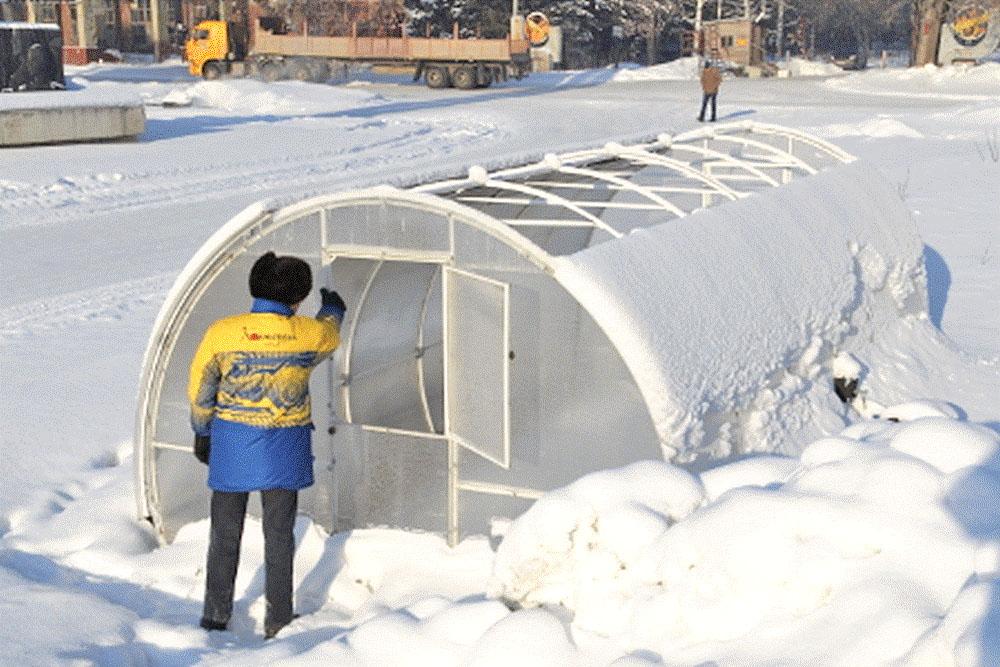
- In winter, snow penetrates inside the greenhouse without accumulating on the roof or deforming it. In addition, during thawing, precipitation will provide an initial moisture charge to the soil inside the structure. In the spring, when there is still no water on the site, this is especially important.
- When it rains, the top of the greenhouse can be moved to ensure watering of the plants.
- Sunny unobstructed lighting.
- Airing is carried out without drafts.
- No condensation dripping onto plants and causing leaf burns.
- Possibility of natural pollination.
In order for the greenhouse to serve for a long time, you should periodically clean the guides from dirt and dust. To avoid skewing, install it as carefully as possible.