How plastering of slopes is done: all the nuances and subtleties of the case
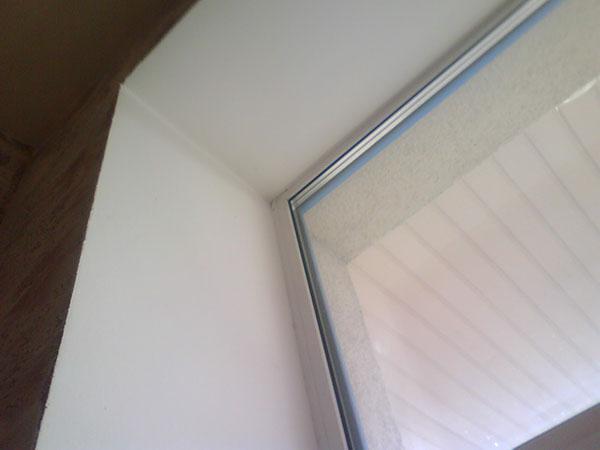
 When replacing windows or performing repair work in the room, it is also necessary to work with slopes. Plastering slopes is a very laborious and complex business, so you can do it better only when you have at least the initial skills of putty or experience in plastering. Without experience, it is unlikely that it will be possible to perform high-quality plaster on the slopes. However, if you have the desire and perseverance, you can do the job efficiently and fairly quickly.
Preparatory stage
Before starting work, it is necessary to prepare or purchase all the necessary tools and materials. Some tools will be needed for sure, and the need for some is determined by the initial state of the slope and other factors. It is recommended to organize a workplace before starting work. There must be access to sockets near this workplace in order to connect a mixer, which will mix the plaster mixture.
In order not to stain the floor and surrounding surfaces, it is recommended to spread a large piece of thick oilcloth on the floor, and put all the tools and materials on it.
Thus, the room will be clean, moreover, it will be easy to clean the workplace after the repair is completed.
Selection and preparation of instruments

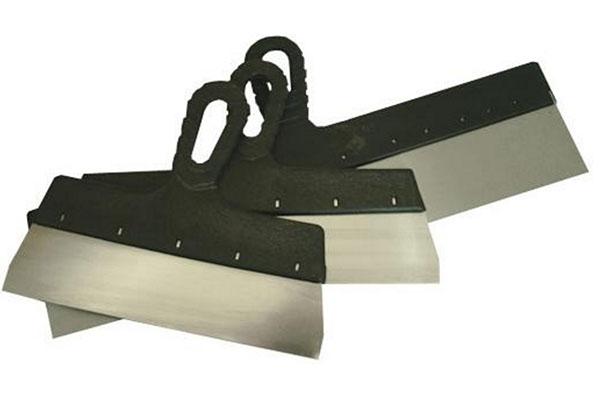
- A range of spatulas (preferably several pieces - 10 cm, 25 cm, a spatula, the length of which is slightly more than the width of the slope).
- A level whose length is slightly less than the height of the window or doors, the slopes of which must be processed. If only door slopes will be plastered, it is advisable to choose a level of one and a half meters, if both window and door slopes, a level of 1 m is suitable.On a large area, it is not recommended to use a small level.
- Rule. Its length must be greater than the length of the slope. If there is no experience with the rules, it is better to choose aluminum, it is lightweight and comfortable to work with.
- Bucket for mixing and washing tools.
- Cloths and brushes for cleaning tools.
- A square designed for setting the lighthouse at an angle of 90 °.
- Rubber or rubberized gloves for hand protection.
- Trowels or trowels for easy slope handling.
- Capacity for primer (wide trays are convenient).
- Primer brushes, bristles and rollers.
- Mixer for mixing the mixture and whisks to it.
Depending on the selected sequence of work and the method of handling the slope, you may also need the following tools:
- perforator;
- dowels;
- self-tapping screws;
- hammer;
- borax;
- screwdriver etc.
Purchase of materials
 To level the slopes on windows or doors, you will need the following materials:
- Primer. You can use quartz, or designed for deep penetration. It is not recommended to dilute the primer with water - when plastering, maximum adhesion between surfaces is required.
- Water. It is recommended to bring sufficient water to the workplace before starting work. The larger the layer of plaster falls on the slopes, the faster the water intended for mixing the mixture will leave. It is recommended to have 2 buckets - one for mixing the plaster and the other for cleaning the tools.
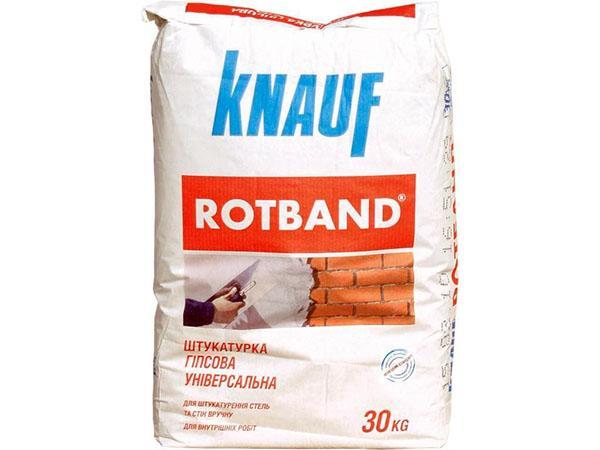
- Any starting gypsum plaster (ideal for plastering door and window slopes.The mixture has high plasticity, it is easy to lay down, it is comfortable to work with it. It does not dry out too quickly, moreover, it is easy to wash and wash).
How is plastering of slopes
The technologies of how to plaster door slopes and how to work with window slopes are practically the same. Difficulties arise when working with the upper slope due to its extremely inconvenient location in space. After working on the side slopes, it is easier to work with the upper one. Firstly, there is already a little experience in plastering the slopes, and secondly, since the side slopes are adjacent to the upper one, part of the work on forming the corners has already been done.
Beacon fasteners
 Slopes are plastering along the installed guides. Such guides can be long rules, even and smooth wooden beams, long pieces of profiles, and the like. It is much easier to carry out work, relying on beacons. To install the guides on the side slopes, it is most convenient to use a starting mixture for plaster. Several spatulas of the mixture are applied to the wall and the beacon is attached directly to the plaster. It dries up, and the slope is plastered over the lighthouse.
As for the upper slope, it is best to mount the beacon with brackets, profiles or dowel mountings. It is more difficult, but more reliable. A non-dried lighthouse can slide from the upper slope, and thus the plane will be plastered crooked. The same rule applies when aligning the slopes of doorways.
It is recommended to mount the lighthouse on the upper slope only after plastering the side ones, their complete drying and removing the lighthouses.
Thus, all planes will be processed sequentially. After installing the beacon, you should make sure that it is level. Since the beacon gives flatness to the plane, you should make sure that it is level. To do this, a level is applied to one of the sides of the beacon and the guide is leveled. After that, they must be left to dry to the wall. After about an hour, you can start plastering the slopes.
Slope preparation
 Before leveling the slopes with plaster, watch out for a few preparatory steps.
These include:
- cutting off with a clerical knife the protruding assembly or glue foam, which was used when installing the window;
- pasting the window with masking tape and stretch film to prevent plaster from getting on it;
- wiping off dust from slopes (to improve adhesion), window sills and windows;
- priming the entire slope.
All this can be done while the lighthouses dry up. At the same time, it is recommended to organize a workplace, prepare a mixture for plaster, trowel and other tools that will be needed when working with a slope.
Plaster preparation
 Before mixing the mixture, be sure to read the instructions on the package. Manufacturers give different recommendations for mixing specific putty mixtures. Therefore, to achieve the best result and reliability, all manufacturer's recommendations should be followed. When mixing the mixture, it does not matter whether the door or window slope will be plastered. It is important that the mixture has a consistency, thanks to which it will not drain or slide off the slope. At the same time, it will be comfortable to work with it and there will be time before drying to level the plane.
Stir the plaster with a mixer. It is best to try what consistency it is with a small spatula - 10 or 15 cm.
 The bucket in which the plaster is mixed for the slopes of the front door, interior doors or windows must be clean. Before mixing a new portion of the mixture, the bucket should be washed with a brush and rinsed.
Leveling the slope plane using the mixture
 When the surface is prepared and the mixture for plaster begins to be applied to the slope.The process of plastering door slopes does not differ from the processing of window frames, the technology for carrying out the work is the same. Using a spatula, the mixture is applied to the slope. It is recommended to process small areas of 20-30 cm.
  First, the mixture is applied to them, and then it is leveled with a half-scraper or wide spatula. Hold a trowel or a half-trowel, with which the slope is leveled, should be at an angle of 90 ° to the plane of the slope, perpendicular. Thus, it will turn out to achieve a flat and smooth slope.
It is recommended to putty the slopes of the doorway not after, but before installing the door leaf.
The door itself will hinder movement while working with a slope, and there is a high probability of getting it dirty. It is best to work with slopes after installing the box.
Final work
After the slopes are plastered, it is necessary to wait until it is completely or partially dry and remove the lighthouse. Whichever method it is attached to the wall, it should be removed in the direction from the slope to the wall, so as not to damage the plaster layer. After removing the lighthouse, it will be noticeable that a small influx of plaster mixture has formed on the wall. It needs to be removed. If the plaster layer is still soft, you may be able to do it with a trowel. If not, you can use coarse sandpaper (numbered 40-80).
 After the slopes are plastered, paint perforated corners can be installed on them. The corners help to form an even corner and also protect the wall from chipping pieces of putty. After installing the corners, you can putty the slope with a finishing plaster mixture.
According to the above scheme, you can align the jambs of doorways and window slopes. Working with plaster is rather dirty, therefore it is recommended to carry out it in clothes that completely cover arms and legs. After finishing work, all tools should be washed with a brush under running water, and then wiped dry (with the exception of the power tool). This way the tools will last longer.
It is recommended to carry out work on plastering slopes with your own hands in the absence of any experience in performing repair work after watching the training videos. If possible, you should consult with those who are engaged in repair work or installing windows.