How to make a reliable DIY snow blower
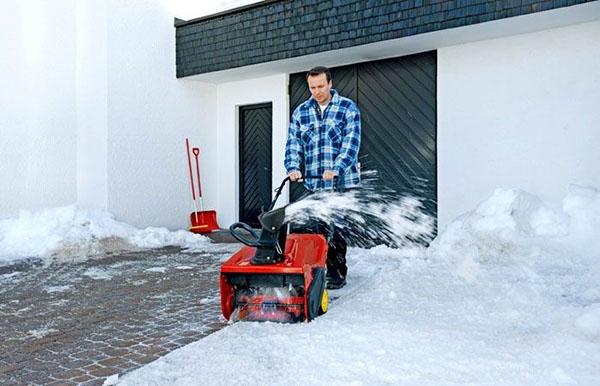
Every owner of suburban real estate periodically encounters snow removal. A competently assembled DIY snow blower will be an excellent alternative to expensive production models. The main thing is the choice of the desired design, strict adherence to the instructions and the correct selection of materials for the independent creation of this unit.
Varieties and design features of homemade snow blowers
 In specialized literature and on the Internet, you can find a lot of design solutions for snowplows. The problem is that most of the homemade products presented are ineffective or very expensive to make. Some of the widely advertised gadgets require solid tools and very specific metalworking skills that not all suburban real estate owners possess. This publication will look at simple but highly effective snow blower designs that any home craftsman can make.
Before you make a snowplow with your own hands, you need to understand the principle of operation and design features of this device.
Any snow blower is a device that collects and throws aside the snow mass.
The design of this unit consists of three main modules:
- Actuator.
- A device for collecting and transporting snow.
- Frame for attaching the mechanical and power parts of the snow blower, as well as the base for moving the unit around the site.
Let's consider the types and design of each module in more detail.
Actuator

The electric drive is suitable for clearing the snow mass of garden paths, a small area, putting things in order near a house or garage. Disadvantages: connection to the power grid, insufficient performance.
Snow blowers assembled on the basis of an internal combustion engine are distinguished by their autonomy, high power and the ability to control the shaft speed. Disadvantages: difficulties with starting in the cold, heavy weight, the need to refuel.
Snow nozzle
 This is the most important unit of any self-assembled snow blower, because the weight, dimensions and efficiency of the entire device, as well as the operator's safety, depend on its design and quality of performance.
There are four design options for the snow blower:
- Rotary.
- Auger.
- Combined two-stage.
- Brush.
Rotary snow blower
 This is a very simple device, the basis of which is an impeller with blades, enclosed in a casing. The impeller is fixed directly on the engine shaft using the principle of axial fan blades.To increase the snow coverage, specially shaped guides are attached to the casing and frame.
An electric motor or an internal combustion engine can be used as a power drive for a rotary snow blower.
To avoid short-circuiting and electric shock to the operator, the electric motor and all electronic components require good protection from moisture and snow. It is better to entrust the connection and electrical insulation of the power plant to professionals.
Auger snow blower
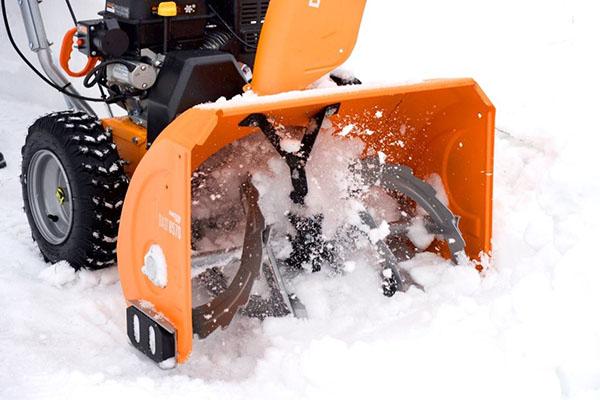
 It is much more difficult to make such a model with your own hands. This device consists of a steel body, inside which a double-threaded auger rotates, moving the snow to the center of the structure. The blades are responsible for removing the mass, rigidly fixed on the central part of the shaft.
The auger is made of metal and can have a smooth or serrated surface. The first option is suitable for removing fresh snow; toothed auger - for picking up caked mass with an ice crust. It is better to use a chainsaw engine as a power plant, which, through a standard chain, will transmit rotation to the shaft.
Combined two-stage
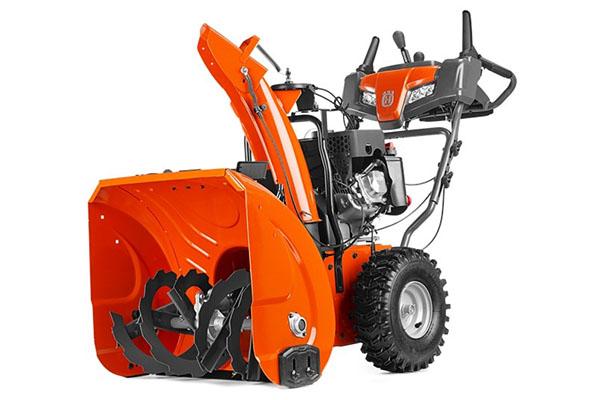
 These models combine an auger and a rotary snow blower. The auger scoops up the snow to the center of the box, and the rotor blades throw the mass to the side. This design is considered the most effective, but also more difficult for self-assembly.
The best propulsion option for a two-stage cleaner is the engine cultivator, since there is a power take-off shaft in it, which is necessary to drive the auger mechanism. If the farm has the necessary tools and materials, it is quite easy to make a combined snow blower for a walk-behind tractor with your own hands.
Drawings of this design are presented below:
- The body is made of roofing iron. A hole is made in the central part for installing the rotor.
- The auger is made from a steel strip, which is welded to the shaft with a double helix. The direction of the turns is towards the center of the structure.
- To install the shaft into the housing, blind pins are used, into which the bearings are pressed.
- Depending on the location of the drive, an asterisk is welded onto the auger shaft, which will be connected by means of a chain transmission to the sprocket of the power take-off shaft.
- The frame with runners and the attachment of the snow blower nozzle are assembled from a steel corner.
Snow blower
 In reality, it is a symbiosis of auger construction and a sweeper. In this solution, a brush is installed instead of the spiral blade. The body of the cleaner is placed at an angle to the frame to throw snow outside the area to be cleaned. Such a constructive solution is often used as a nozzle for small agricultural machines that are idle in winter and can be quite successfully used to remove the snow mass. It is quite simple to make a brush for a walk-behind tractor with your own hands. It is necessary to weld steel plates on four sides of the shaft, which will serve as the basis for attaching polymer bristles.
In terms of efficiency, such a brush cannot be compared with production samples, but due to the high speed, it will be very good to clear garden paths from shallow snow.
Basic structure
 Depending on the chosen solution and the type of power plant, frame materials and a base for moving the device are selected. The frame is assembled from ½ or ¾ inch diameter steel tube. The structure is mounted on a wheelbase or runners, which are attached to the frame in the manner of a children's sled. In some cases, it will be appropriate to use a steel angle instead of a pipe. A frame made of this material can be bolted together without using a welding machine.
We assemble a rotary snow blower with our own hands

To create a snowplow yourself, you need a tool:
- welding machine;
- angle grinder with cutting disc;
- drill with a set of drills for metal.
Roofing iron or an old metal barrel can be used as the material for the casing. The drawings below will help you to understand the do-it-yourself snow blower assembly diagram.
The simplest design is assembled as follows:
- Housing. At a distance of 150-200 mm from the bottom, the metal barrel is cut across. Based on the direction of rotation of the shaft of the power plant, it is necessary to cut out a part of the side. This solution is necessary to remove snow from the hull. Drill a hole for the power drive shaft in the central part of the bottom.
- Impeller. This element is made from a piece of pipe to which four steel blades are welded. The inside diameter of the tube must match the outside diameter of the shaft. Holes are made strictly on opposite sides of the branch pipe to fix the impeller on the drive shaft. If the motor shaft has a thread, then the impeller must be made of a steel disk, the diameter of which is 2-3 mm less than the diameter of the body (bottom of the barrel). A hole is drilled in the center of the disc for installation on the motor shaft. The blades are welded with a 10 mm offset from the edge of the central hole. The impeller is fixed with a washer and a nut.
The final element of this design is the frame with the handle. For the frame and runners, a metal tube ¾ or a 45th steel angle is used. When making a handle, you can use a ½ ”steel plumbing pipe.
To connect the electric motor, it is necessary to use a cable of the required section in a factory sheath designed for use in outdoor conditions.